Looking for a way to hang pictures or favorite works of art on your wall without damaging your walls?
If you’re like most people, you’re probably not a fan of poking holes in your freshly painted walls or dealing with the hassle of filling in nail holes.
Luckily, there are several easy and effective ways on how to hang pictures without nails.
Several options are available if you’re looking for a way to hang pictures without using nails.
- One method is to use adhesive strips specifically designed for hanging pictures. These strips come in varying sizes and strengths, so be sure to choose the right one for the weight of your picture.
- Another option is to use picture-hanging hooks that attach to the wall without needing nails. These hooks come in different styles, like ones that clip onto the back of the picture frame or use wire to hang the picture.
There are other methods aside from using adhesive strips or hooks which you can use to hang your pictures which are already discussed in this article.
Whichever method you choose, follow the instructions carefully to ensure that your pictures are hung securely and safely.
Keep reading to learn more about decorating your walls without damaging them!
How To Hang Pictures Without Nails
1. Use Command Strips
Command Strips are versatile adhesive strips that have a wide range of uses in various settings.
These strips are perfect for anyone who wants to avoid drilling or hammering nails into their walls, as they can securely hold up lightweight objects like picture frames, posters, and decorations without causing any damage.
Additionally, Command Strips can be used to organize items like cleaning supplies, tools, and kitchen utensils, as they can be attached to cabinets, drawers, and other surfaces.
There are various sizes available to accommodate different weights. Multiple ones can be used on a single picture or frame for support. This is a great choice to consider.
They also add temporary accents to your living space, such as string lights, garlands, and other decorative items.
Overall, Command Strips are an easy and convenient solution for anyone looking to add personal touches to their home or workspace without causing any harm or permanent damage.
These strips make hanging pictures a breeze, and you won’t have to worry about damaging your walls. Try them out and see how easy it can be to decorate your home!
2. Command Hooks
Command hooks are versatile and convenient tools that can be used in various ways.
Command hooks provide an easy and efficient way to hang items without the need for drilling holes in your walls.
These hooks are perfect for organizing your living space, as they can be used to hang everything from pictures to towels, coats, hats, and jewelry.
If you have some heavier art pieces you would like to display, you might want to consider using a Command hook instead.
These hooks, available in Designer and Utility options, come in larger sizes that can support up to 7.5 pounds.
For art pieces heavier than that, you can use multiple Command hooks in a straight line and hook the wire from your art onto them.
This way, your art will be detached from the wall by a few centimeters and have a more gallery-like effect.
Additionally, there are also Command nails that feature adhesive backing and the head of a wire brad. These nails can offer a similar effect to the hooks but allow the art to lie flush against the wall.
With Command hooks and nails, you can easily and safely display your favorite pieces without causing any damage to your walls.
3. Hang Art from Your Molding
If you want to add art to your walls but don’t want to damage them by drilling holes, hanging art from your molding might be the solution.
This type of Picture rail molding is not easily found these days, and should you stumble on it, please grab it.
Your wall can be designed with a fitting hook whose width fits your molding or frame or pictures and some aesthetically-pleasing rope or string.
It is flexible and the changing of your artwork pretty easily.
Using string as the cohesive element, you can incorporate various frames and wall art mediums to create a unique display. This allows for endless possibilities in terms of design and arrangement.
Hang art from your molding to avoid drilling holes in the walls. Here’s how.
- Choose the right hardware: Ensure you have the right hardware for the job. You’ll need picture-hanging hooks that are designed to fit over your molding. Choose hooks that are sturdy enough to support the weight of your art.
- Measure and mark: Measure the distance between the two hooks on the back of your art and mark this distance on your molding. Use a level to be sure that your marks are straight.
- Install the hooks: Install the hooks onto your molding at the marks you made. Ensure they are securely in place.
- Hang your art: Hang your art from the hooks. Also, make sure that it is level and adjust if necessary.
Following these simple steps, you can add personality to your walls without damaging them.
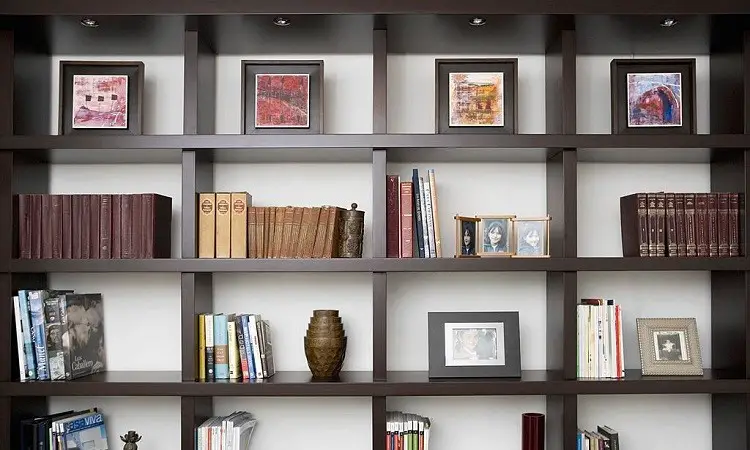
4. Take up Space on Bookshelves

Although books are supposedly meant for bookshelves, they can be used to display your artwork and pictures.
Empty shelves can be used to display pictures or artwork, saving you the trouble of hanging your artwork on the wall with a nail.
Read Also: How to Clean Grout Without Scrubbing
5. Use Your Mantle
This is usually not readily available, but when you see it, take advantage of it, and it is beautiful when you use the mantle to display your pictures or works of art over a fireplace.
A mantle, a mantelpiece, is a shelf placed above a fireplace.
It is commonly used to display decorative items, including picture frames. Hanging pictures on a Mantle can greatly add a personal touch to your living space.
It can also be a sophisticated space where a larger piece of art that creates a focal point in the room can be displayed.
However, ensuring the pictures are securely hung and do not pose a safety hazard is important.
6. Embrace the Wall Lean

Though very simple, it’s effective. All you have to do is use the space on top of your giant dresser to display your artwork or pictures, ensuring they are all clustered on one side for asymmetry.
Larger pieces of pictures can be rested on the floor. Mirrors and bigger canvases can have an enormous impact, especially when they are at the same level as your feet.
7. Hang Pictures From the Ceiling
Check your walls for a built-in picture frame hanging system if you reside in an older home.
Specifically, picture rails could be present in your home, which are a type of molding commonly placed below the crown molding or a foot from the ceiling.
These unique moldings were prevalent in 19th- and early 20th-century homes but have since fallen out of fashion.
Nevertheless, it’s possible that your residence still features these handy picture rails, which can be utilized with additional picture wire and picture rail hooks that are compatible with the molding.
8. Use Press-In Hooks
Press-In Hooks are versatile tools that can be used for various purposes. They are handy little gadgets that hang pictures, towels, clothes, and bags without nails on the wall.
They are ideal for use in the bathroom, kitchen, and other areas where you need to hang things up.
These hooks are easy to install and don’t require drilling or screwing, making them a safe and convenient option.
Additionally, they are available in different sizes, shapes, and colors, so you can choose the ones that best suit your needs and match your decor.
The monkey hooks, super hooks, can support pieces of art up to 150 pounds.
Whether you need to organize your space or simply hang up your favorite items, Press-In Hooks are the perfect solution.
9. Hang a Pegboard
Pegboard is a versatile and practical tool that can be used for many purposes, including hanging pictures on the wall without a nail.
Its numerous small holes make hanging and adjusting artwork easy without damaging the walls.
All you have to do is fasten the pegboard to the wall using drywall anchors and screws, after which you can hang up whatever art you like.
Using a pegboard, you can create a customized display of your favorite pictures at home or in the office.
Additionally, pegboard can be cut to any size and shape, making it perfect for creating unique and creative displays.
With its many benefits, it’s no wonder that pegboard is a popular choice for those looking to showcase their artwork safely and securely.
Read Also: How To Block WiFi Signals in a Room
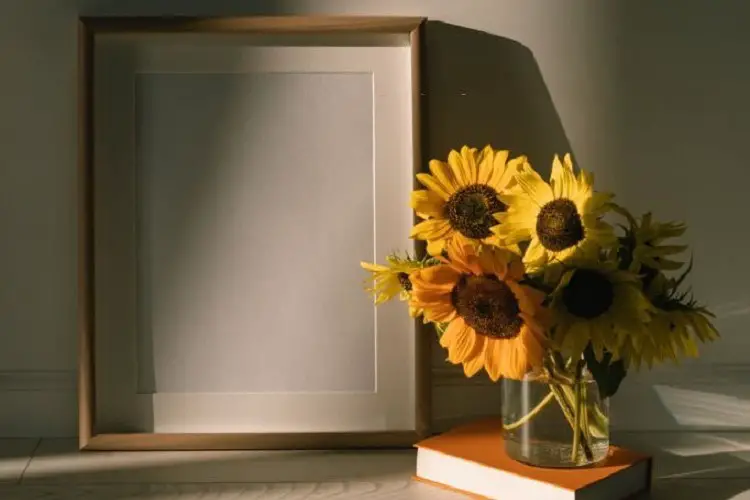
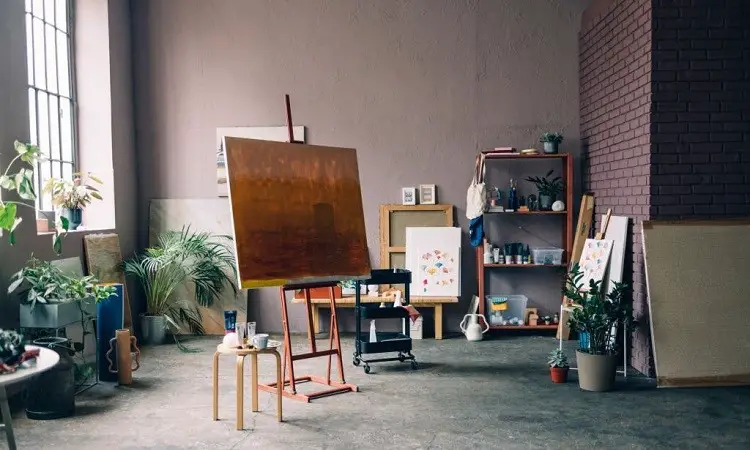
10. Put the Art on an Easel

This is another effective way to hang your pictures without nails.
An easel or pedestal is a better option when you have space to work with, especially in larger common areas where a statement art piece can become a focal point of the room.
This display will add another interaction layer with the piece since it won’t feel as 2-dimensional as it would mount on a wall.
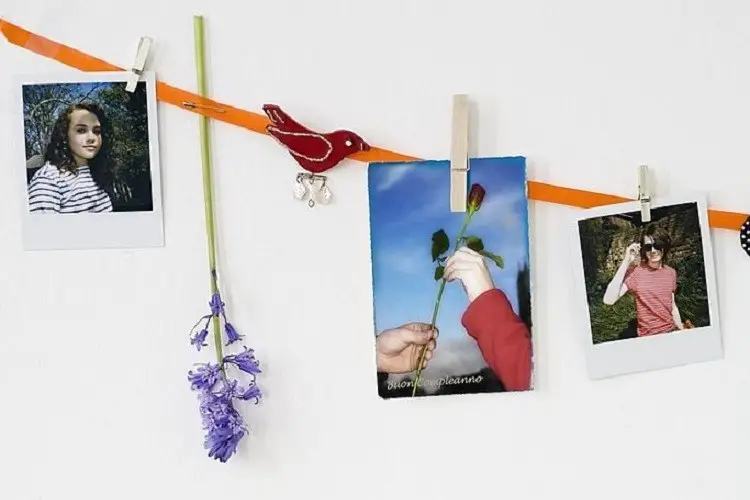
11. Clip It Up
This leaves you with set spots for your art as well as flexibility.
This gives you the option of having the ability to move your pictures and works of art around. All you have to do is to unclip the art from its spot and put its replacement in.
12. Install a Cork Wall
Cork walls can be a stylish and functional way to display pictures at home or in the office.
The natural texture and neutrality of cork make it an ideal backdrop for photographs, artwork, and other decorative items.
Additionally, cork is a sustainable and eco-friendly material, which adds to its appeal as a wall covering.
Whether you want to create a gallery wall or hang a few favorite pictures, a cork wall can provide a unique and effective solution.
So, if you’re looking for a versatile and attractive way to display your favorite photos, consider using or installing a cork wall.
Read Also: How To Make a Gymnastic Mat At Home
Wind Up
If you’re looking for a way on how to hang pictures without nails, know that several options are available.
One popular method is adhesive strips, which can hold up lightweight frames and artwork.
Another option is using picture-hanging hooks, which can be easily removed without leaving any holes or marks behind. You could also consider using other methods mentioned above.
Ultimately, the best method for you will depend on the size and weight of your picture and the type of wall you’re working with.
With a little bit of research and experimentation, you should be able to find a solution that works well for your needs.

