
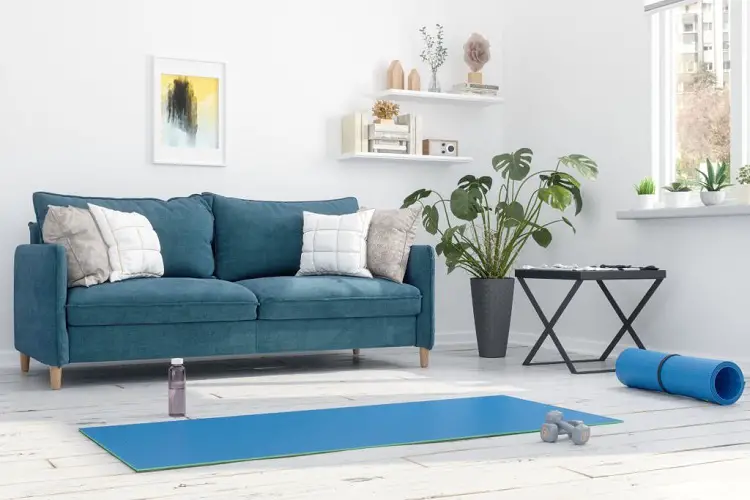
Having your personal gymnastics mat is beyond thrilling. The excitement of having custom-made equipment inspires you to do more of what you love doing.
If you have been thinking of how to make a gymnastics mat at home, here is a step-by-step guide for you to work it out.
- Measure and mark your dimensions
- Cut out the foam padding according to the dimensions marked.
- Cut the fabric
- Attach the fabric to the padding
- Add Velcro strips
- Add a finishing touch
Read on, as everything you need to know about making a personal gymnastics mat is contained in this article.
What is a Gymnastics Mat?
A gymnastics mat is specialized equipment for gymnastics and other related sports activities. It provides support and cushioning for performing gymnasts during their exercises, routines, or tumbling skills.
Gymnastics mats are designed to be firm enough to provide support and stability yet offer enough cushioning to absorb the force from impact and reduce strain on the body.
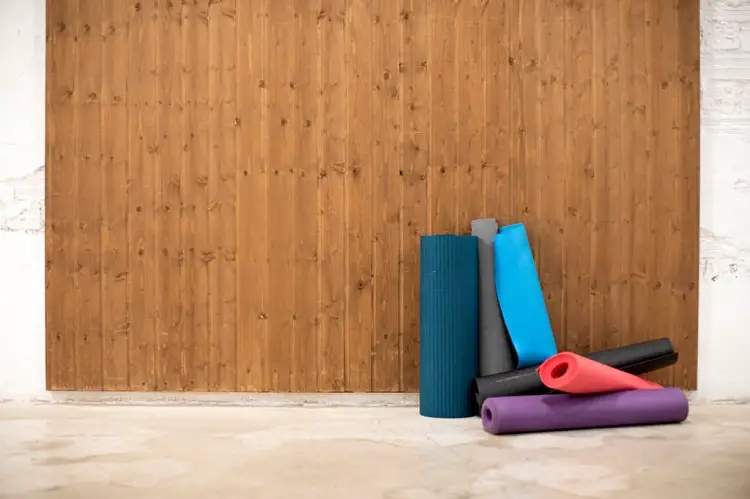
Depending on their specific uses, gymnastics mats usually come in different sizes, thicknesses, and shapes.
They are made of high-density foam padding covered with durable and easy-to-clean fabrics like vinyl or polyurethane.
They easily fit into many occasions, including gymnastics clubs, schools, home practice areas, and competitions.
Types of Gymnastics Mats
There are different types of gymnastics mats available, depending on their purpose.
Each mat is designed for specific purposes and activities. Here are common types of gymnastics mats you’ll find on the market;
Landing Mats
Landing mats are designed to be thick and well-cushioned to ensure a safe landing. They are made of high-density foam with a durable covering like vinyl and carpet. They’re mainly used for jumps, flips, and other high-impact skills.
Tumbling Mats
Tumbling mats provide a supportive surface for tumbling routines, floor exercises like rolling, tumbling, and other floor-based skills. They’re usually long and narrow with varying thicknesses and are typically made of foam.
Folding Mats
Folding mats are flexible and versatile mats that can be easily folded and stored when not in use. They can be used for various activities like stretching, conditioning exercises, and other low-impact skills. They come in different thicknesses and sizes for different purposes.
Balance Beams And Bars Mats
They’re designed to provide additional padding and safety when practicing balance beam and uneven bar routines.
They are usually long, narrow mats and can be attached to the apparatus or used independently to provide a cushioned surface.
Incline Mats
Also known as wedge mats, incline mats are angled mats with a sloping surface. They’re used for activities that require an inclination, such as handsprings, cartwheels, or backbends.
Crash Pads
Crash pads are designed for high-impact skills and stunts. They’re commonly used for cheerleading, acrobatics, and gymnastics to provide a safe landing surface for advanced maneuvers like aerials, flips, and tricks.
Skills Shapes
These specialized foam blocks or wedges assist with skill development and progression.
They come in various shapes and sizes, such as blocks, wedges, barrels, and octagons. And can be used to create an obstacle, support, or additional height for practicing specific skills.
These are examples of the various types of gymnastics mats available according to their purposes.
The type of gymnastics mat you wish to make depends on the skills you will perform on it, which will determine the dimensions, design, and quality of materials.
How to Make a Gymnastics Mat at Home
Making a gymnastics mat at home can be a fun and practical experience, especially for hands-on people.
Although, due to inexperience, it may not be as professional as the commercial ones, it’ll still serve the same purpose. Better still, you may save a few coins.
Here’s a step-by-step guide on how to make a gymnastics mat at home
Requirements
- High-density foam. Thick and dense foam that will provide good cushioning during your practice.
- Vinyl or any heavy-duty fabric for covering the mat
- Measuring tape or ruler
- Marker or pen
- Scissors
- Industrial stapler or adhesive
- Velcro strips (optional) to attach other mats.
Step 1: Measurements
Decide the size of the mat you want because the size of the mat you intend to make largely affects the materials you’ll be using in terms of quality and size. Use a marker or pen to measure and mark your dimensions on the foam padding.
Step 2: Cut the padding
Cut out the foam padding using scissors or a utility knife according to the dimensions you marked. Cut carefully in a straight line to avoid jagged edges.
Step 3: Cut the fabric
Measure and cut the vinyl or heavy-duty fabric to match the measured dimensions of the foam padding. Give a little allowance on the edges of the fabric for good folding.
Step 4: Attach the fabric to the padding
First, use safety pins to secure the fabric to the foam padding for easy maneuvering. Rearrange the fabric to avoid creases and folds.
If you’re using an adhesive, apply it evenly on one side of the foam padding and press the fabric. Using your hand, smoothen out any air bubbles or wrinkles.
If you’re using a stapler, fold the extra part of the fabric on the edges of the foam padding and staple them together.
Step 5: Add Velcro strips
Adding velcro strips is optional, but if you intend to connect multiple mat sections, attach the velcro strips to the edges. On one side of the mat, attach the velcro on the bottom; on the other, attach the velcro on the top.
Step 6: Finishing
Trim off any excess fabric for a cleaner job. Check that everything is smooth and in place. Once the adhesive is dry, your mat is ready for use.
Use a wet cloth to wipe off any debris from the surface. Remember that the dimensions, thickness, and materials can be adjusted at any point to suit your preference.
Safety of Homemade Gymnastics Mat
One factor to consider when making a gymnastics mat at home is how safe it is for use.
While making a homemade gymnastics mat is possible and straightforward, the safety of the mat depends on many factors, like the quality of materials you use, the construction strength, and how you use it.
Here are some considerations that guarantee whether a homemade gymnastics mat is safe.
1. Quality of Materials
Since you will be doing a lot of exercises that will exert much pressure on the mat, focus on the quality of the materials you will be using. Choose materials that provide adequate cushioning and shock absorption.
Some specialized gymnastics mat foam and high-density foam are suitable for this purpose. Ensure the materials are clean, neatly cut, and securely fastened together.
2. Thickness and Density
The thickness of gymnastics mats varies according to the type of activity and the user’s weight. However, a minimum recommended thickness of 1.5 to 2 inches(3.8 to 5 cm) thick for tumbling and other low-impact activities.
Higher impact mats require thicker mats; you can decide the thickness for your convenience as long as it isn’t below the recommended thickness.
3. Size
Be generous with your dimensions when cutting the size of the mat. Let the mat be wide enough to accommodate all the stunts and routines you plan to perform.
4. Stability
Ensure That the mat is secure to the mat to prevent it from slipping or sliding off, which can lead to an accident.
You can secure the mat to the floor using velcro strips, a non-slip bottom, or any other method to prevent movements.
5. Construction Quality
Apart from the quality of materials you use, the construction quality plays a huge role in ensuring the safety of your homemade mat.
When making a homemade gymnastics mat, ensure that the mat is well constructed with securely stitched seams and no protruding components.
6. Usage and Maintenance
How you use your mat determines how long it will remain useful. A well-made homemade mat still requires proper usage and maintenance.
Follow the techniques and guidelines for gymnastics or tumbling exercises and ensure that users are adequately trained and supervised to ensure the mat’s longevity and minimize the risk of injury.
7. Routine Maintenance
Always clean the mat after use to remove dirt, debris, spills, or sweat that could affect its performance.
Remember that professionally manufactured mats are designed and tested to meet specific safety standards before selling.
Even though homemade mats are relatable and cost-effective, they don’t offer the same level of safety assurance as commercial ones.
Related Posts
- How To Hang Pictures Without Nails
- Can I Use Pine Sol on Engineered Wood Floor?
- 10 Reasons Why Your Room is So Hot (With Solutions)
Conclusion
Everything you need to know about how to make a gymnastics mat at home depends on the mat’s purpose.
There are different types of mats for different activities, and your choice of a mat can determine if it will be possible to make it at home because some large mats like crash pads and beams, require expertise for quality construction. However, smaller mats, like the foldable mats, are easy to make in the comfort of your home.